This is the first post in a series on the NSX Advanced Load Balancer. I have never installed the NSX Advanced Load Balancer, but I wanted to test it out in VMC. There is a Fling to help – Easy Deploy for NSX Advanced Load Balancing.
Step 1 – Install the OVA
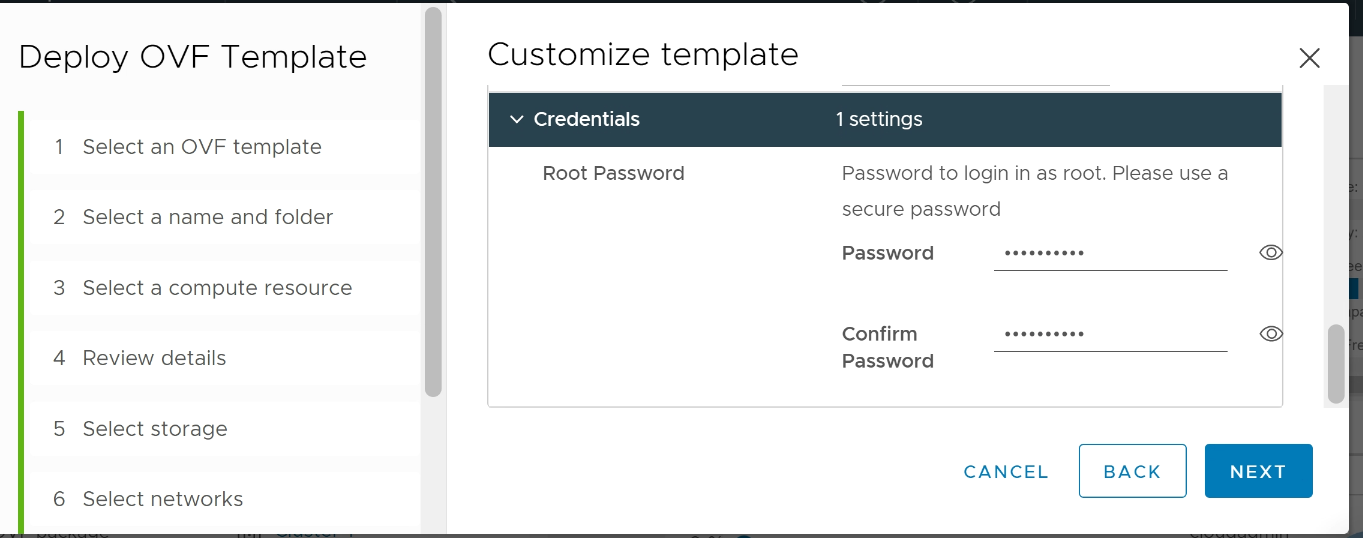
I downloaded the Fling OVA from the Flings site and deployed it to my vCenter. The installer is a typical next-next-finish OVA deployment. This is a mix of screenshots, some from when I deployed with a static IP, and some from when I deployed with DHCP.
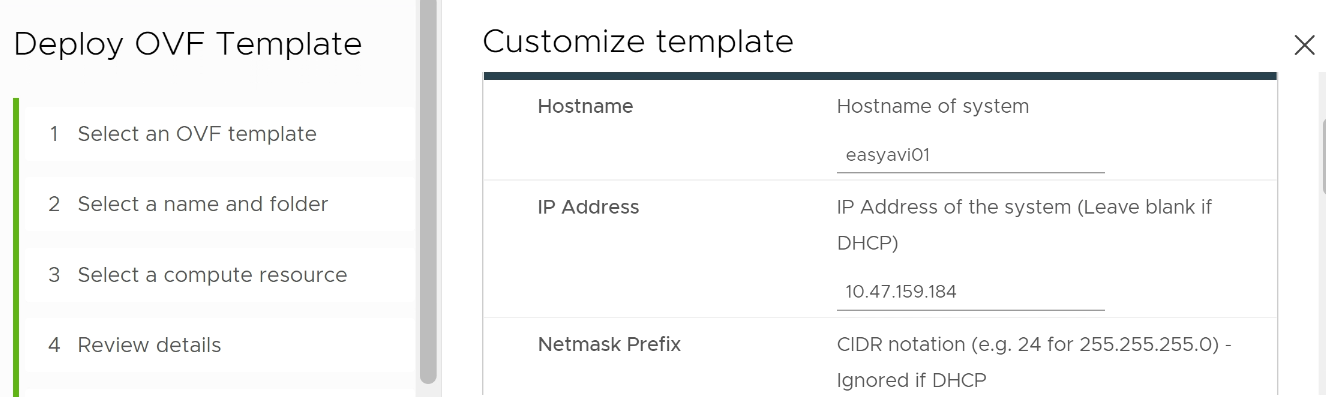


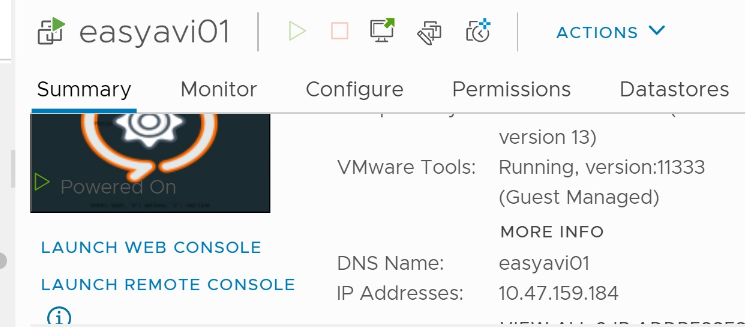
After I deployed with a static IP, I powered up the appliance. Then I of course discovered I had an IP conflict. I redeployed using DHCP on a different segment.
Step 2 – Access the Web Interface
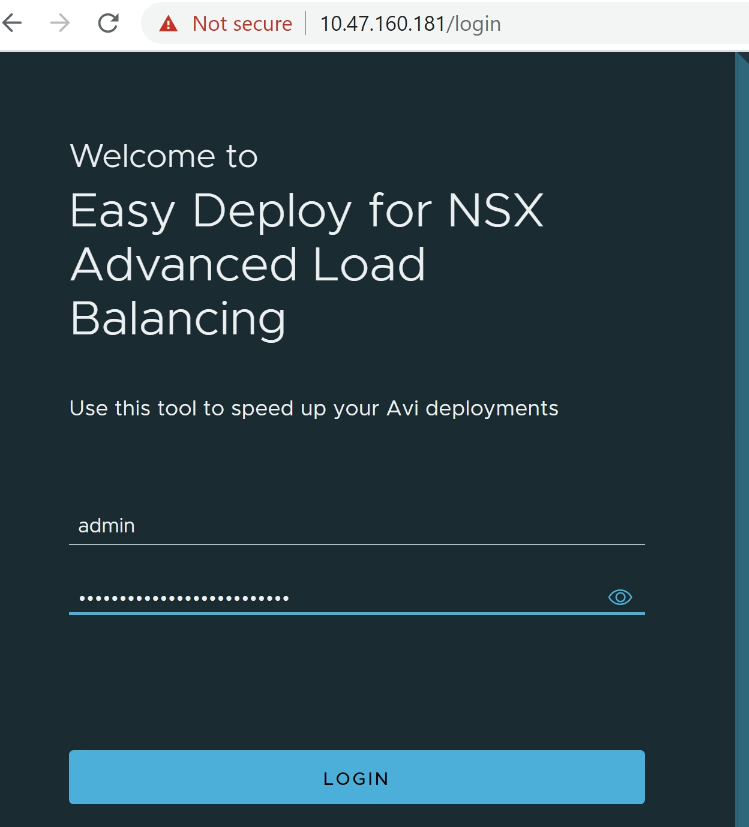
Browse to the IP via https, log in with username admin and the password used at deploy time.
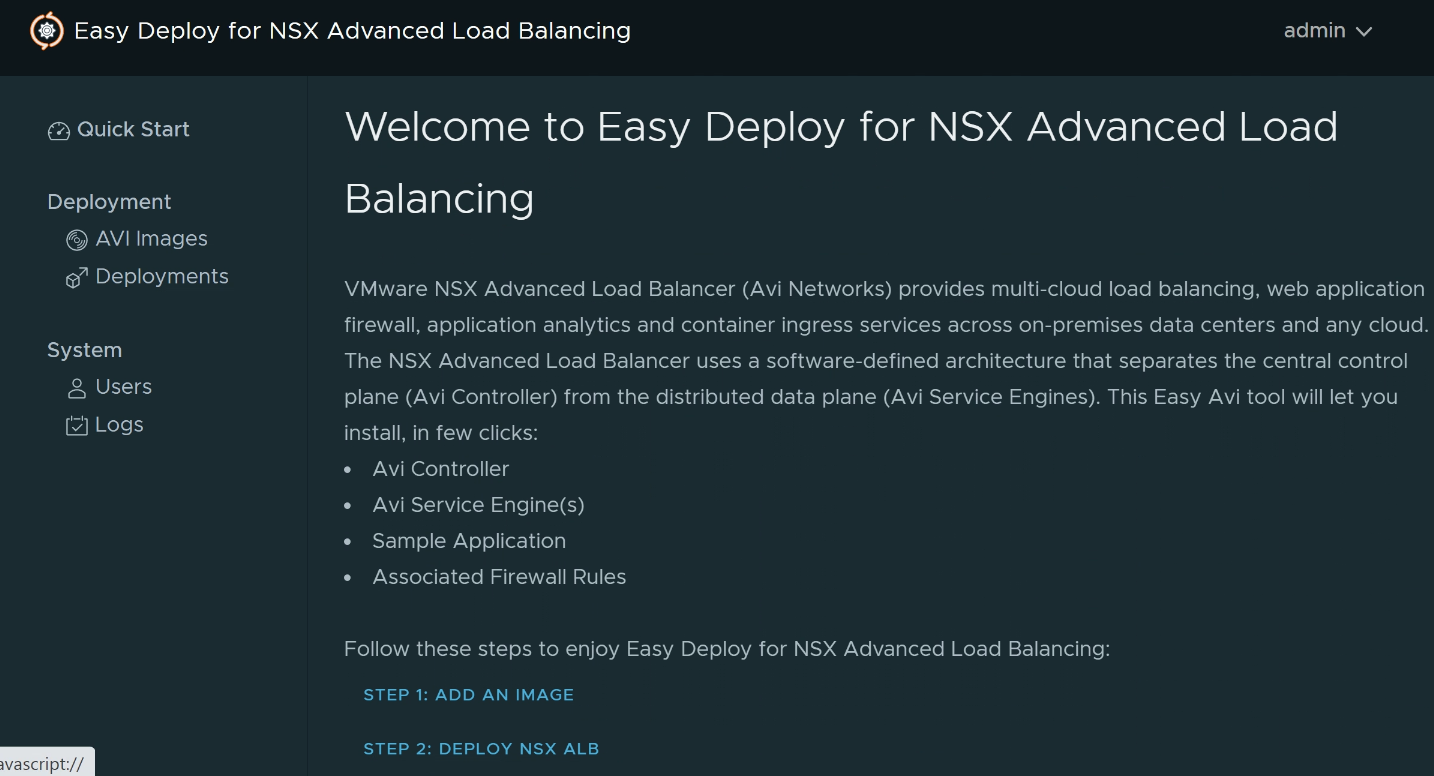
The main deploy screen opens up. I click on first step to add an image.
Step 3 – Add an image
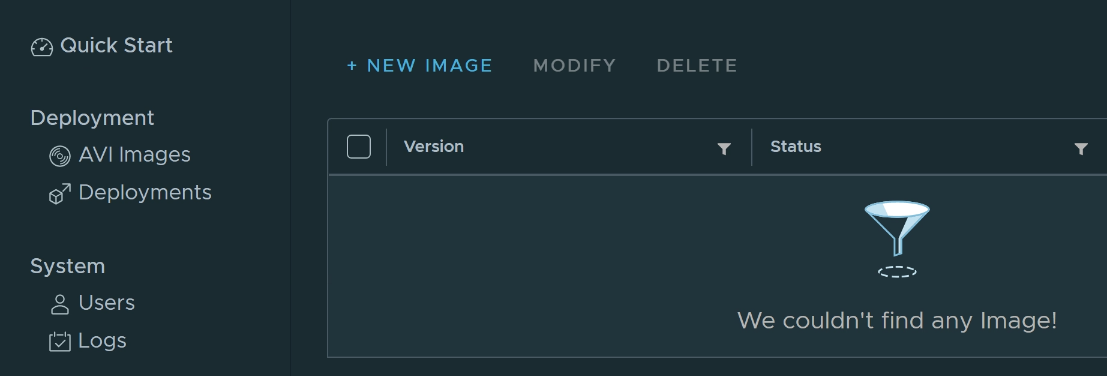
I click on New Image to add a load balancer image
I log into Avi Pulse with My VMware (now called Customer Connect) credentials

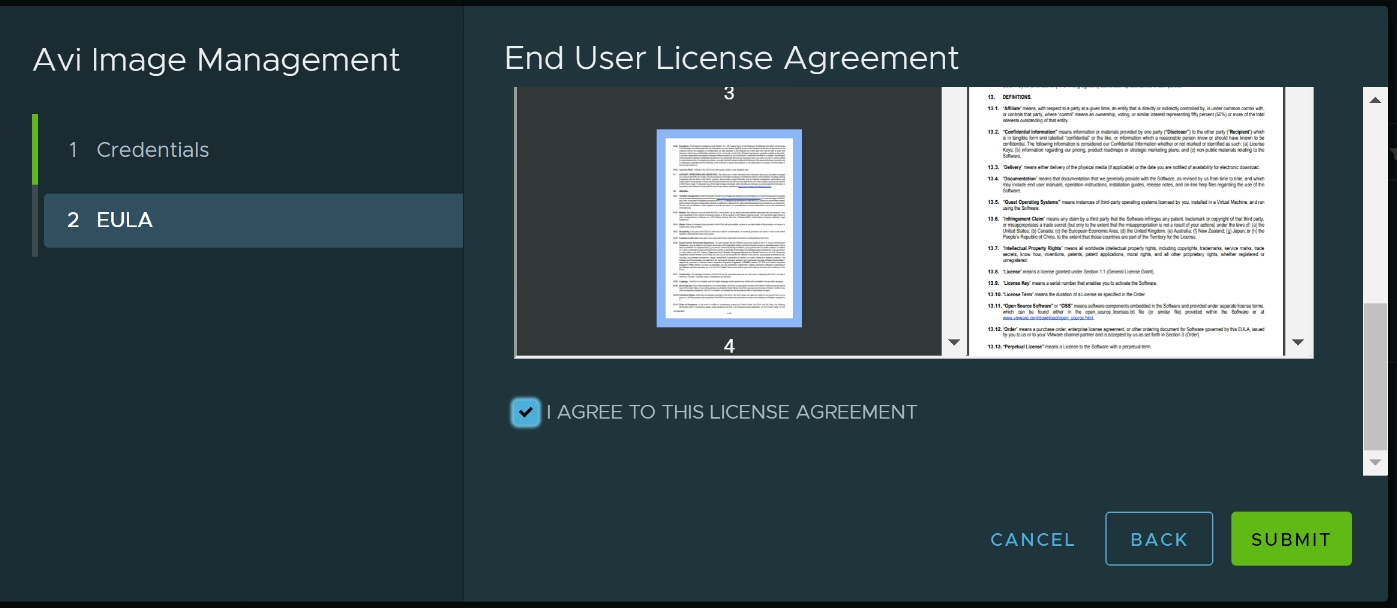
I agree to the EULA
The image begins downloading
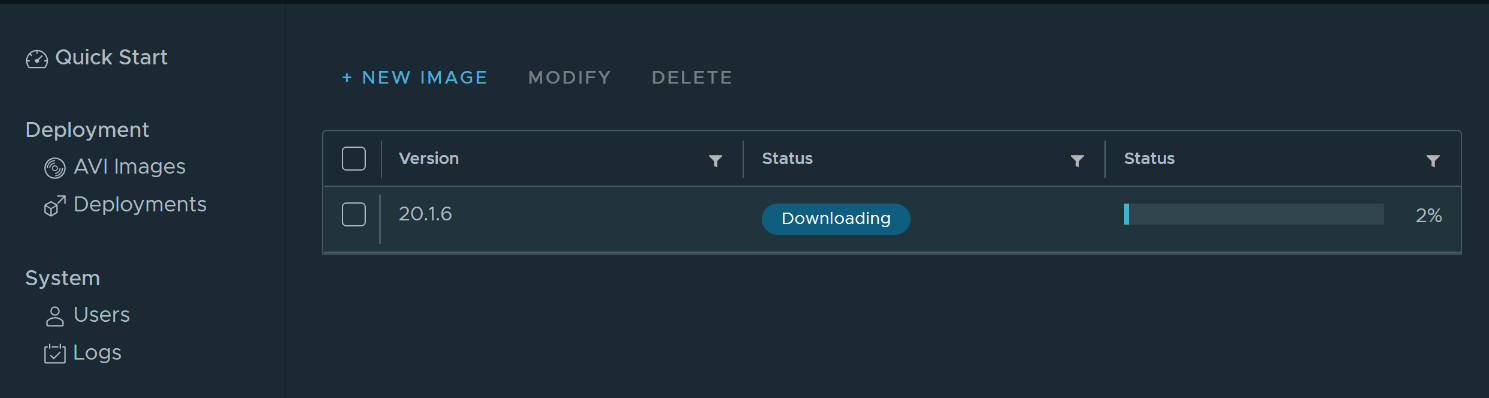
When the image shows Ready, proceed with a deployment.

Step 4 – Create a Deployment
As of the date of this blog post, the Fling only supports VMware Cloud on AWS. To use it, you must provide an API token. See my blog post on from the SDDC Import/Export series if you need to learn how to generate an API token.
Note: before you create a deployment, you will need 3 network segments:
- Controller segment for the AVI controller
- SE management segment for the service engines
- VIP segment for your virtual IP addresses – these would be the IP that you point DNS to i.e. vmware.com
You will need a 4th network segment if you you want to take advantage of the Fling feature for deploying a sample load balanced application
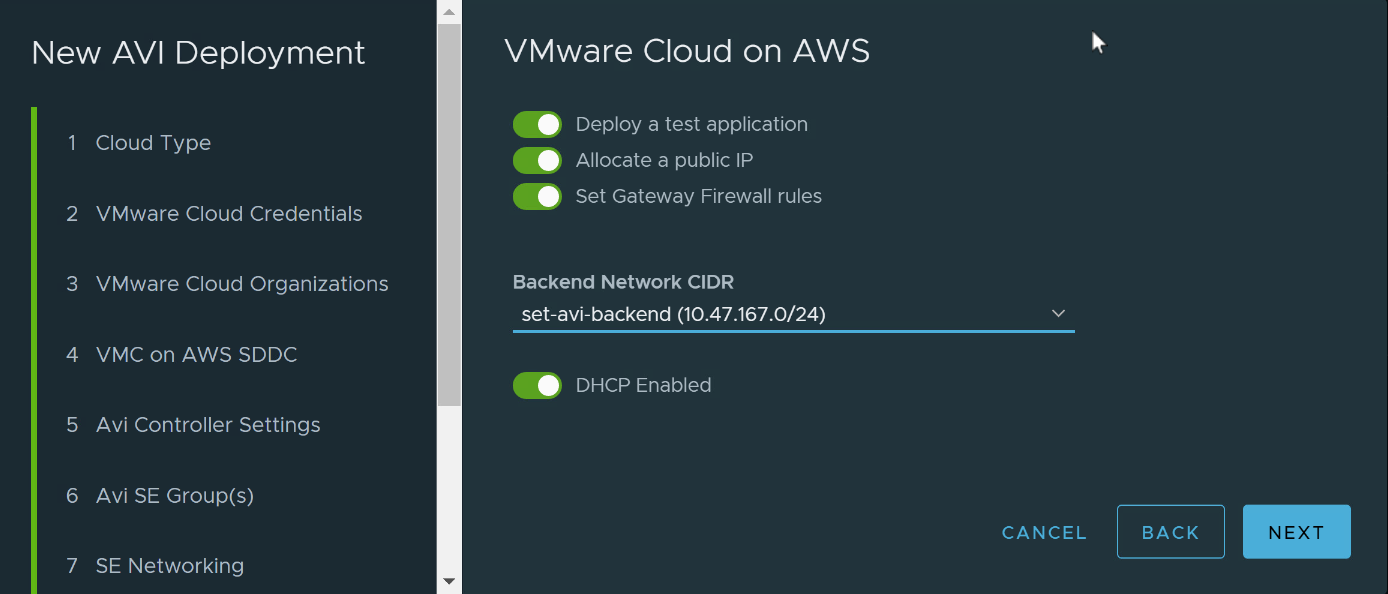
- Backend segment for your backend IP addresses – these are assigned to the nodes. You might also hear this called ‘real IP’. These are the IPs assigned to each server that forms the load balanced application
The interface does not refresh itself, so these segments have to exist in VMC before you start a new deployment.
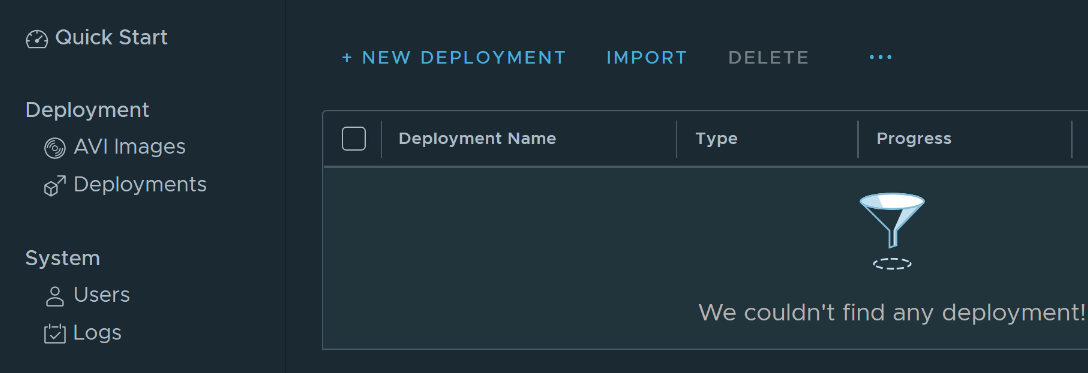
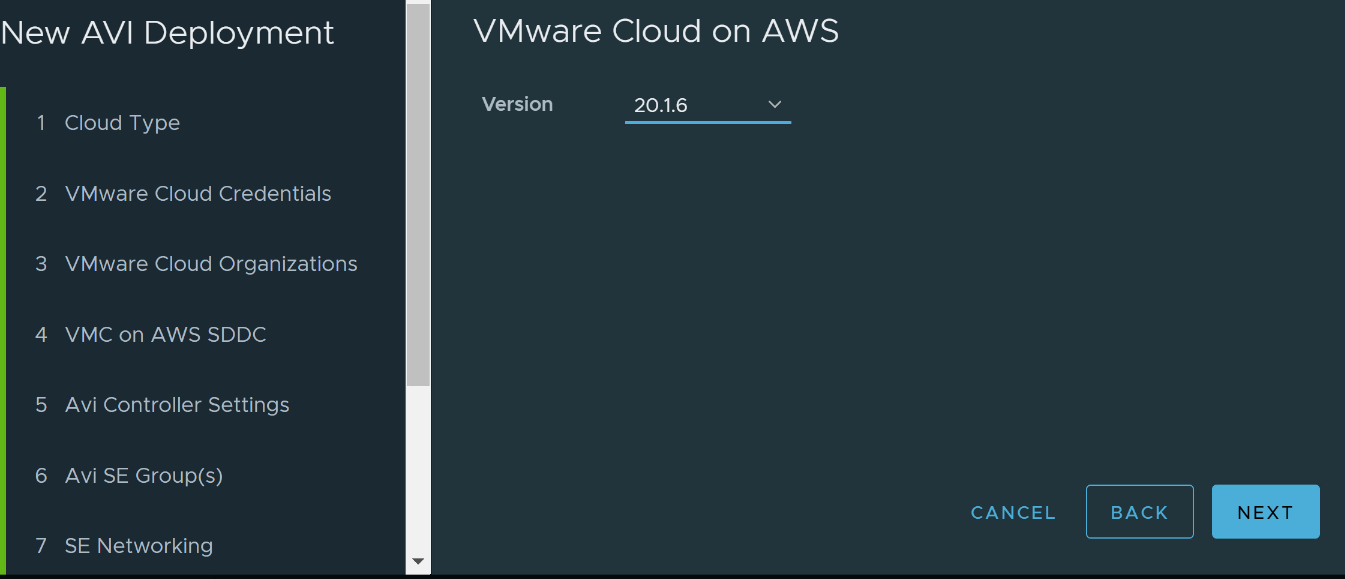
Click on Deployments, then New Deployment
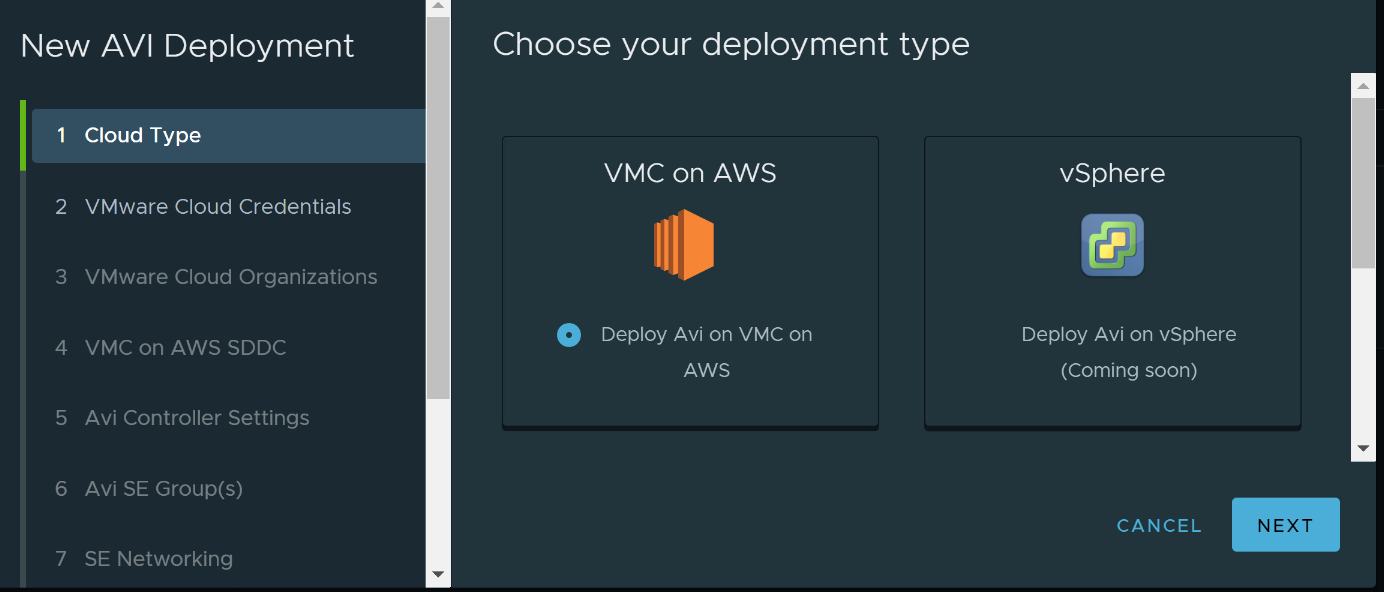
VMC on AWS is the only choice.
Paste the API token in and click Next

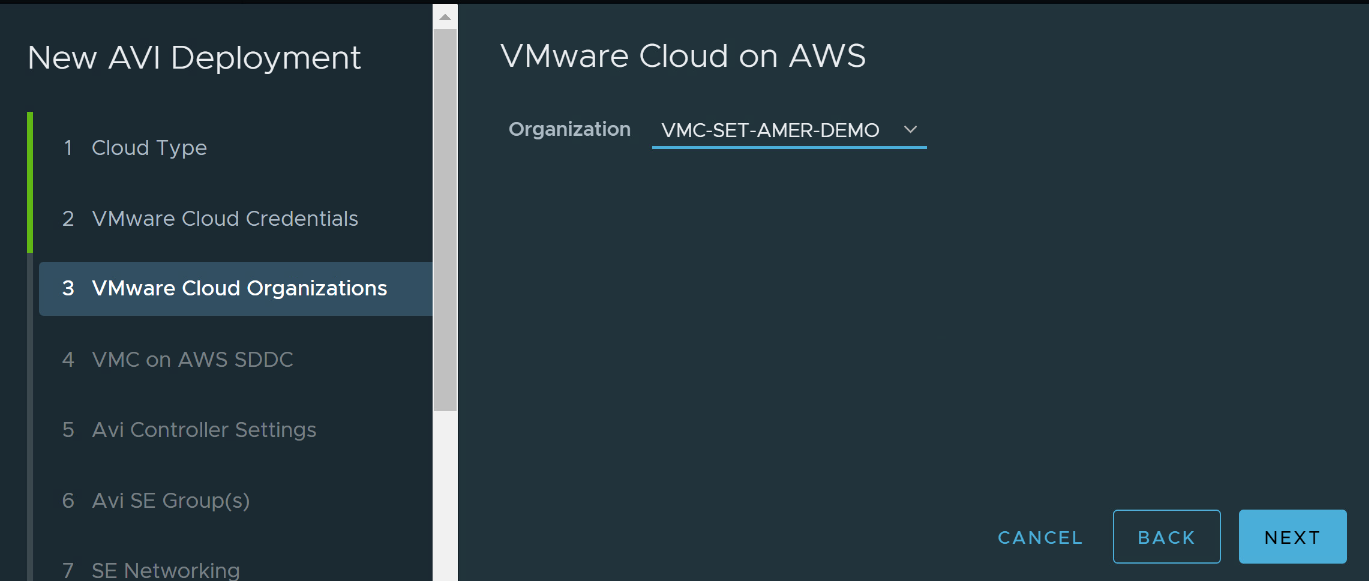
Pick the correct org from the dropdown and click next.
Pick the deployment SDDC from the dropdown and click Next

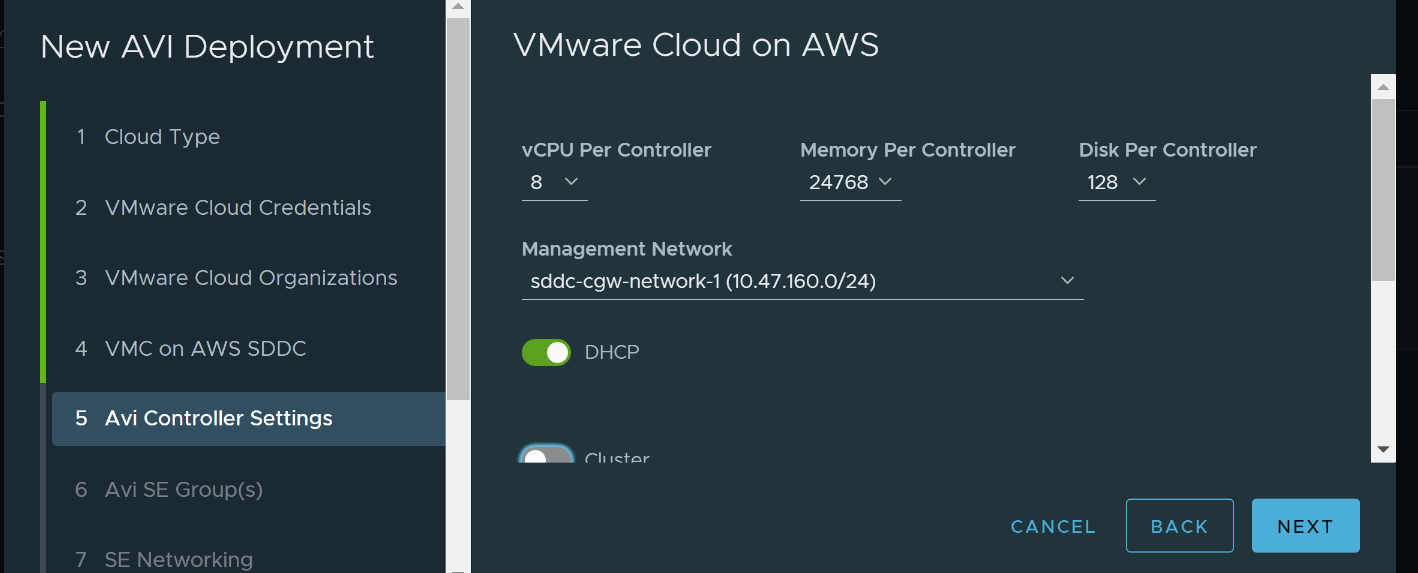
The controllers are fairly large VMs – if you’re just deploying to play with in a lab, you can skip the cluster and just deploy a single node. Pick the management network segment from the dropdown and click Next
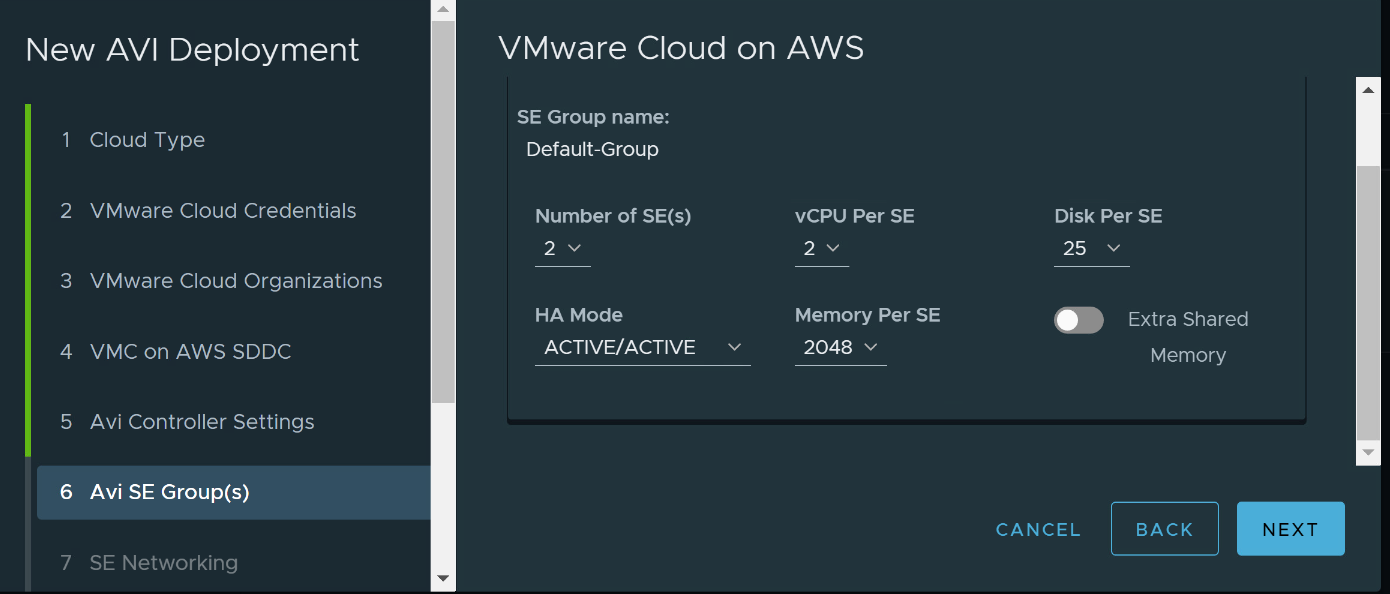
Pick the service engine configuration – leave the default for a simple lab.
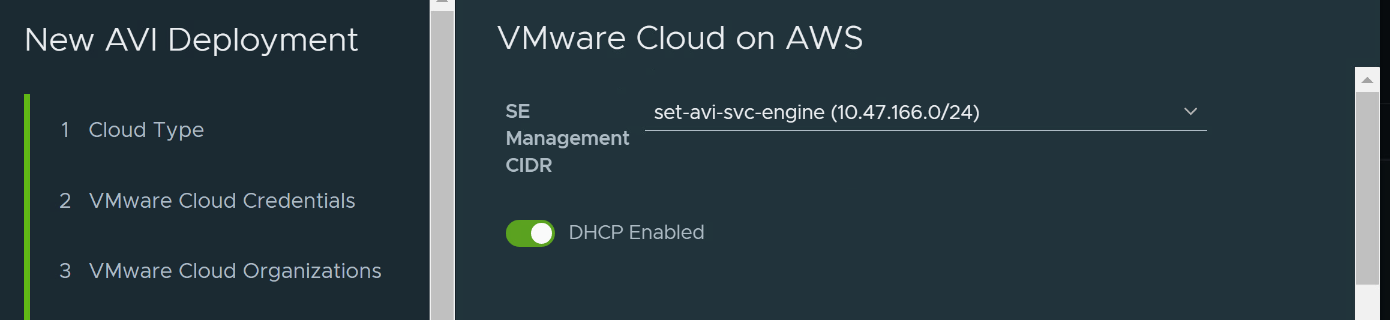
Pick a network segment for service engine management. I have DHCP enabled on this segment so SE IPs get autoassigned.
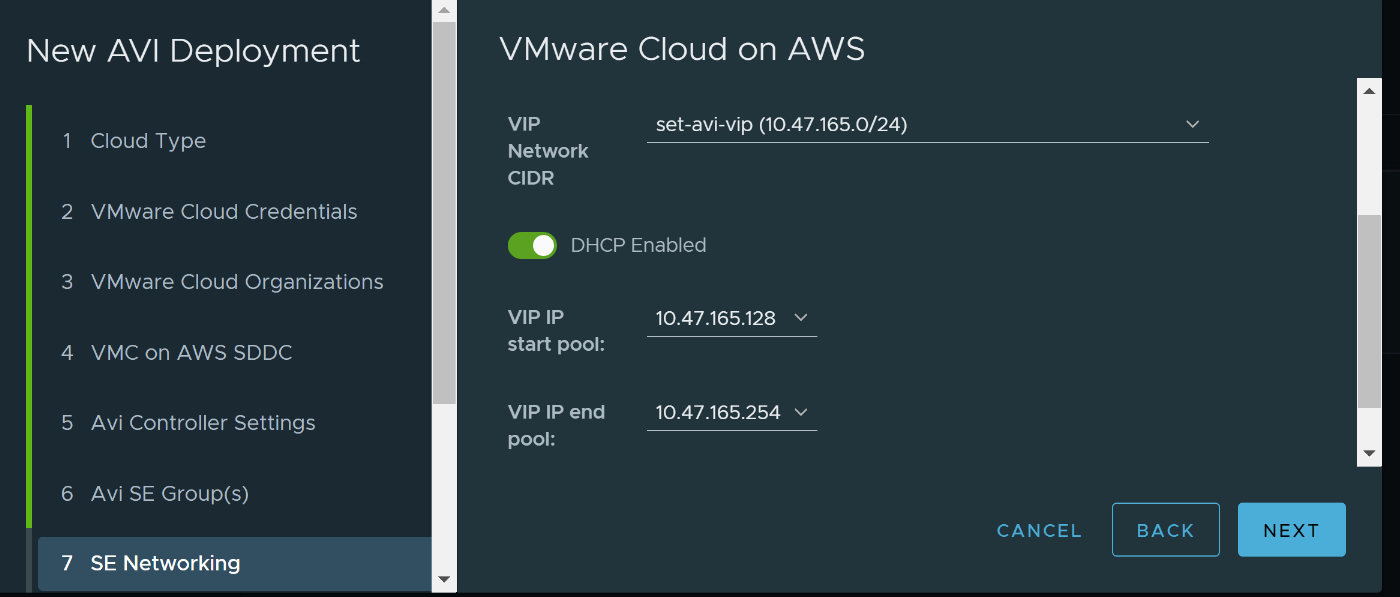
This section can get confusing as there are 2 sets of IP assignments happening from the VIP CIDR. DHCP is assigning IP addresses to the VIP interface of each service engine. The VIP IP start and end IPs are the range assigned to application VIPs. You need to make sure that your DHCP range does not overlap with the range you specify in the VIP pool.
A great feature of the Fling is the ability to deploy a test application out of the box – you will immediately have a load balanced application.
This is the AVI image from earlier
Final review before hitting submit.

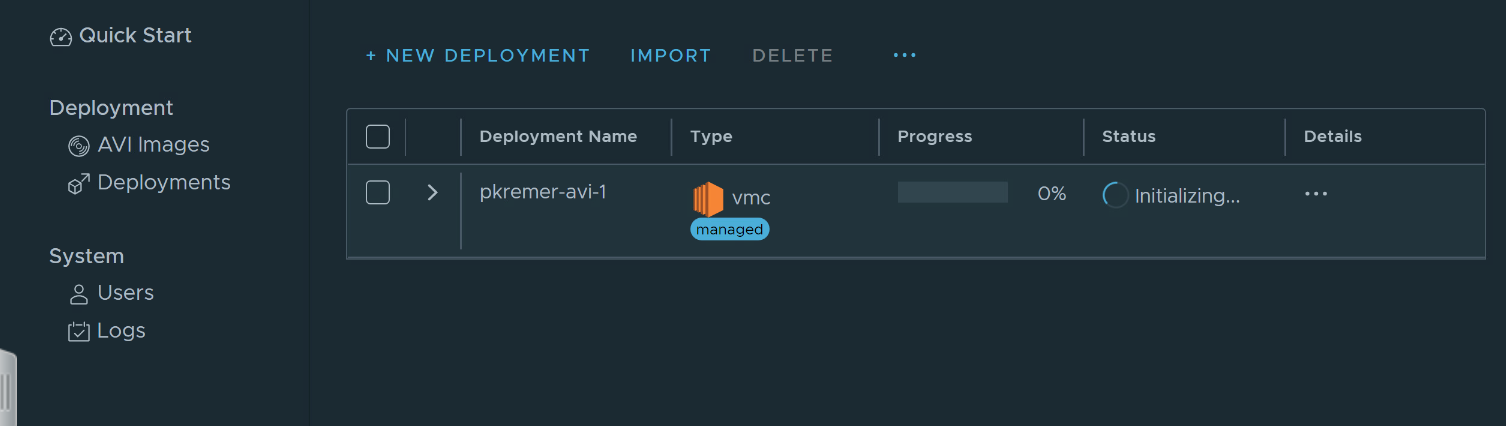
The deployment initializes.
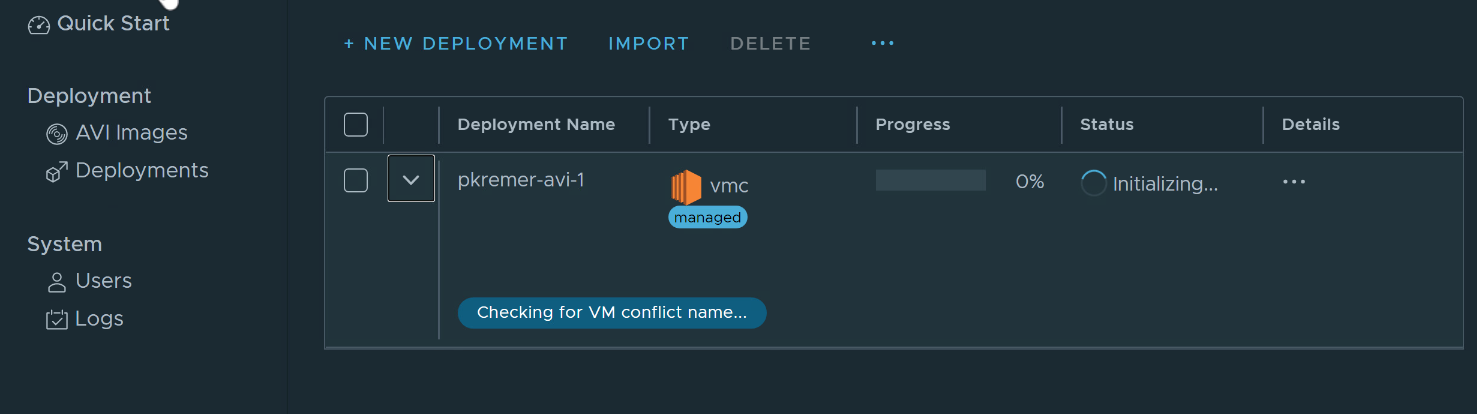
The deployment progresses.
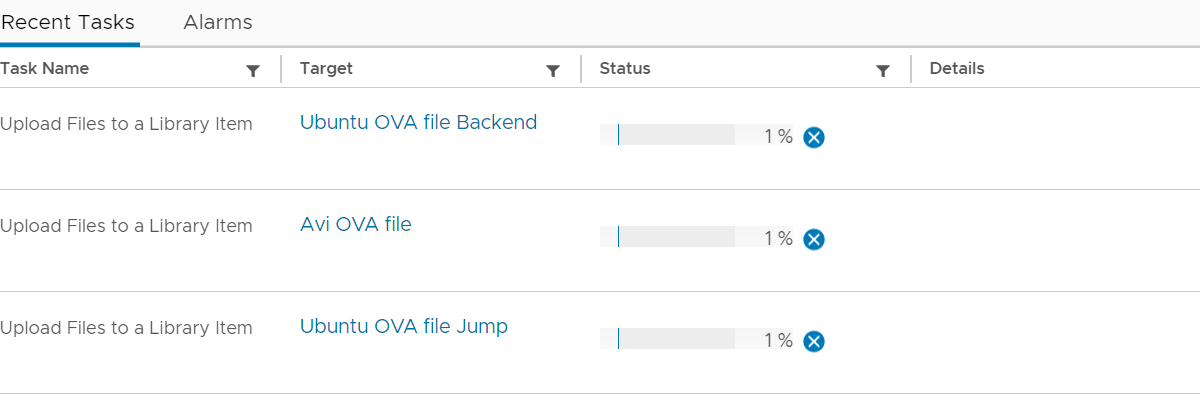
vCenter activity related to the deployment is observed
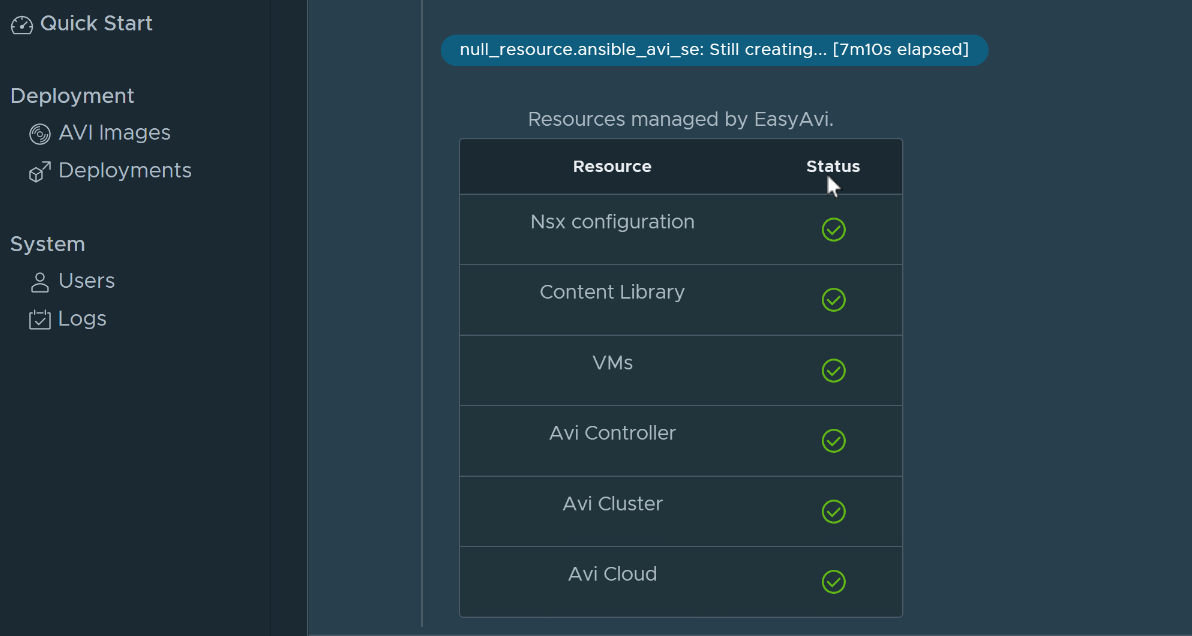
The deployment continues. The deployment takes some time, be patient.
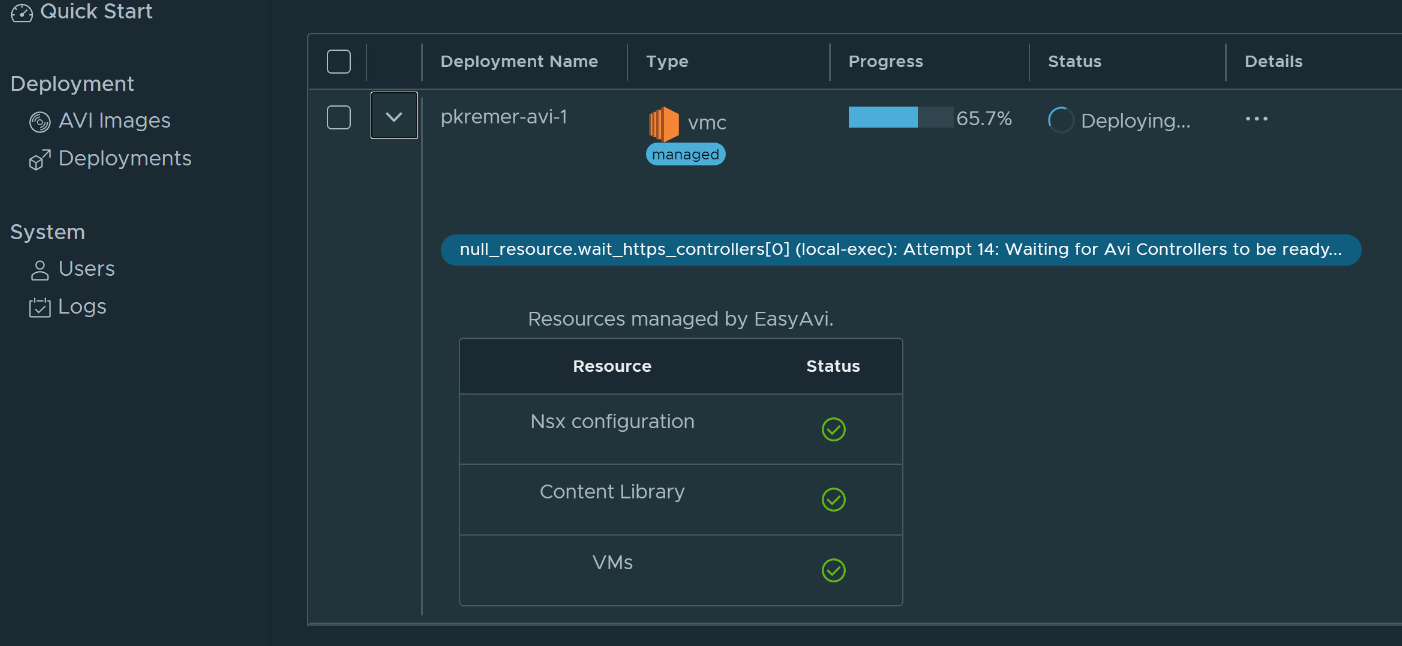
As resources are built, the list of managed resources grows
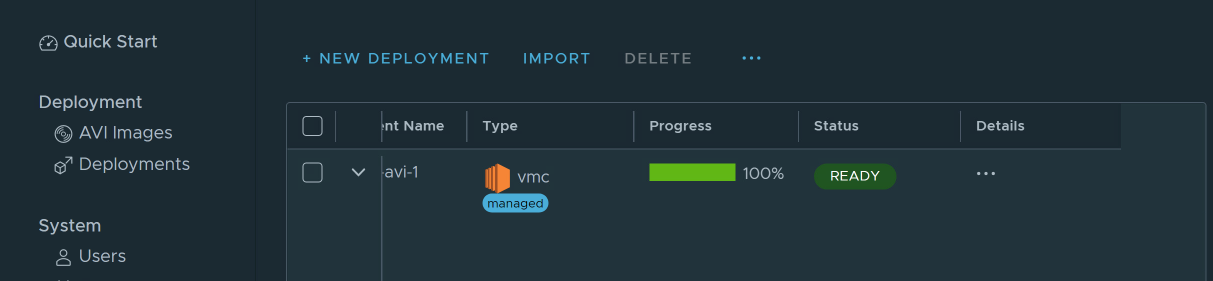
The deployment is complete!
I was impressed by how easy the Fling made it to deploy Avi, particularly given that I’ve never deployed a load balancer before.
In the next post, we will explore the load balancer services configured by the Fling.
Asserting the Winners of Our Load Balancing “First Expertise” Contest – Ahosti – Latest IT News Trends
[…] Half 1: Set up with straightforward deploy […]
NSX Advanced Load Balancer – Part V – Application VIP Assignments -
[…] Part I, we assigned the application VIPs a range out of the back half of the 10.47.165.0/24 subnet. This […]
NSX Advanced Load Balancer – Part II – Examining the Easy Deploy Resources -
[…] Part I of this series, we deployed NSX Advanced Load Balancer resources with the Easy Deploy Fling. In […]